Running online experiments using Google Firebase
blog online codingOnline testing is becoming a popular way of running psychological experiments. Services such as Prolific allow large samples to be recruited and tested in a matter of hours.
However one aspect of this process that often has people confused is how exactly to host a task online and store data properly. Some services are available that make this straightforward, such as Gorilla, however many of us want flexibility beyond that provided by these services.
After trying many ways of running tasks online, I’ve settled on a method that works well for me, which uses Google’s Firebase services. I thought it might be helpful to share how exactly this works to make it easier for others to get these things set up, and to reduce the number of confused messages I’m receiving on Slack from Evan.
Introduction to Firebase
Firebase is a suite of database, authentication, and hosting services provided by Google. It’s primarily designed for mobile/web apps, but its ease of use and range of unified features make it a great way to host tasks online and deal with data that they generate.
Firebase is GDPR-compliant and provides multiple data storage locations, along with ways to restrict access to the database to ensure that it’s not accessed by people who shouldn’t have access.
Firebase is a paid service, but is free up to a certain point (dictated by daily/weekly usage) - for most tasks it’s likely to cost nothing.
There are two services provided by Firebase that are useful for us:
- Database
- Hosting
I will go through how to set up each of these in turn.
Setting up Firebase
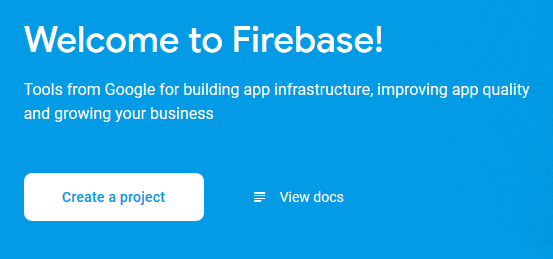
The first thing you’ll need to do is open a Google account, if you haven’t already got one. You can then go to https://firebase.google.com/ where you’ll be given the option to create a project.
You’ll then be taken through a couple of steps:
Name your project
Choose a name for the project you’ll be working on - you have have multiple projects.
Google analytics
We don’t need any of these services, so you can say no to this.
Once this is done you’ll be able to open your project!
Setting up the database
Now, you can click on the develop option on the menu on the left of the screen to access the various tools you’ll need. First, choose the database option.
Next, click on create database. You’ll be asked to choose your security rules. For now, choose Start in test mode. We’ll be changing these rules later anyway, and this will make it simpler for you to to test things.
Then, choose your data storage location. This will depend on your circumstances, but if you’re dealing with GDPR in any way it’s best to choose Europe.
After a minute or so, you’ll have a database set up.
Note: Firebase provides two types of databases, Cloud Firestore and Realtime database. Make sure you’re using Cloud Firestore.
How the database works
Firebase uses noSQL style databases. This means that they’re not set up in a rows & columns format, and instead use a hierarchical structue consisting of what firebase calls collections and documents.
A collection contains multiple documents, but no data itself.
A document can contain two things: fields and more collections.
Fields are where your data itself is stored.
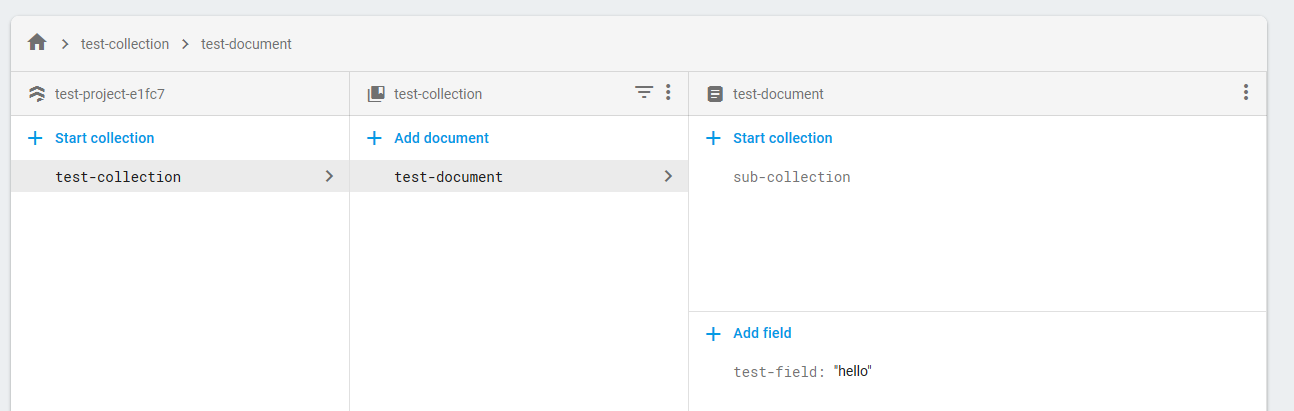
The way I’ve typically structured my data is as follows:
I have a collection called tasks, with one document for each task I’m running. Within each document I have a fields representing information about the task, and then a collection called “subjects” that contains a separate document for each subject.
This subject document contains fields with their subject ID, date they completed the task, and any other relevant variables for the subject. The subject’s document also contains collections, for example a separate collection for each trial. The fields within these sub-collections will then contain their responses for that trial.
Security rules
If you click on the rules tab on the database section of the firebase website, you’ll see options for restricting access to the database. This is important for two reasons:
- Security - we don’t want people accessing the data if they shouldn’t.
- Data integrity - we need to ensure that we don’t overwrite or delete data when multiple subjects complete the task. Each subject should only modify their own data.
To achieve this, we set up a system where each subject completing the task is assigned an anonymous ID which identifies them within the database. Access to the database is then restricted based on this ID - data is only written to the database if the ID given in the write request matches the record that is trying to be modified.
This is what we use the rules section for. Below is what I then use in this section.
service cloud.firestore {
  match /databases/{database}/documents {
    match /tasks/new_task/subjects/{userId} {
      allow read, update, delete: if request.auth.uid == userId;
      allow create: if request.auth.uid != null;
    }
     match /tasks/new_task/subjects/{userId}/{document=**} {
      allow read, update, delete: if request.auth.uid == userId;
      allow create: if request.auth.uid != null;
    }
  }
}
I’ll run through what this means:
match /databases/{database}/documents {
When the subject runs our task, the task will request to write to a specific database. Here, {database} is filled in with this database, so this line essentially means that when a request comes in, it will only proceed if it matches the database we want to write to.
match /tasks/new_task/subjects/{userId} {
This then proceeds to the collection of documents I have for each subject. Each subject needs a document in the subjects collection (e.g. /tasks/new_task/subjects/Subject123).
In this line, the {userID} is filled in by the write request that the task sends whenever it tries to write data (this will be in the javascript code for the task, and we’ll go over it below). This means it just looks for a document with the subject’s ID.
allow read, update, delete: if request.auth.uid == userId;
If it finds a document that matches the subject’s ID, this allows the request to read, update, and delete the data in this document.
allow create: if request.auth.uid != null;
If the subject ID doesn’t match an existing document, this line gives it permission to create that document.
Together, this means that it looks for a document with the subject’s ID, if it exists it’s allowed to modify this document, if it doesn’t exist it’s only allowed to create a new document with that ID.
match /tasks/new_task/subjects/{userId}/{document=**} {
This line essentially does the same thing, but with the data contained within this subject’s document. So if it finds a subject with an ID that matches that being submitted, it can modify collections/documents within that subject’s document.
The overall function of these rules is to allow each subject to create data if it doesn’t exist, but only to modify existing data if their ID matches the ID of the data they’re trying to modify.
Authentication
In order to use these database rules, we need to provide each subject with a unique ID that Firebase can understand. The easiest way to do this is using Firebase’s own authentication service. This is designed for logging people into apps etc, but works well for our purposes.
This is simple to set up - all we need to do is enable anonymous sign-ins. This means that we can give each subject an anonymous ID that will identify them within firebase.

To do this, go to the authentication tab on the left menu bar, then choose Sign-in method at the top. At the bottom of the list of sign-in providers, you’ll see Anonymous. Just enable this and we’re good to go.
Adding Firebase database to a task
Once the Firebase database is set up, we need to tell our HTML/Javascript task to write data to it.
Detailed instructions for this can be found in the Firebase documentation
HTML
First we need to add some things to our HTML file (e.g. index.html) to tell it where to load the firebase code from. Then, we need to initialise Firebase. This means giving information about your database so that the script knows where it’s supposed to find the database you’ve created.
Thankfully, this is straightforward and firebase basically gives you something to copy and paste.
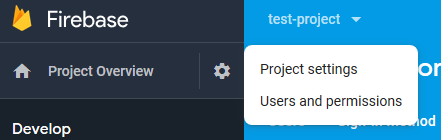
To get this, first go to project settings.
Then in the Your apps section, click on the </> icon.
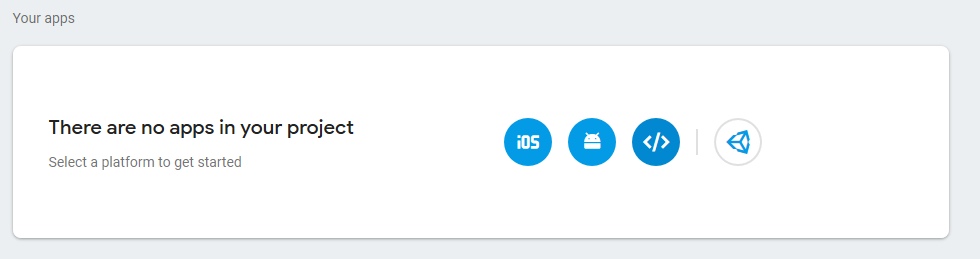
When asked to give your “app” a nickname, enter a name for the project. You don’t need to select Firebase hosting for now.
Once you’ve done this, you’ll be given a code snippet to copy and paste into your HTML file, which will look something like this:
<!-- The core Firebase JS SDK is always required and must be listed first -->
<script src="https://www.gstatic.com/firebasejs/6.4.0/firebase-app.js"></script>

<!-- TODO: Add SDKs for Firebase products that you want to use
     https://firebase.google.com/docs/web/setup#config-web-app -->
<script src="https://www.gstatic.com/firebasejs/6.4.0/firebase-firestore.js"></script>
<script src="https://www.gstatic.com/firebasejs/6.4.0/firebase-auth.js"></script>

<script>
  // Your web app's Firebase configuration
  var firebaseConfig = {
    apiKey: "dsfjdshu4wru3rwefufguds",
    authDomain: "project.firebaseapp.com",
    databaseURL: "https://project.firebaseio.com",
    projectId: "project",
    storageBucket: "project.appspot.com",
    messagingSenderId: "83438438237409123",
    appId: "4:43344:web:256g4rfgdt3r23e"
  };
  // Initialize Firebase
  firebase.initializeApp(firebaseConfig);
</script>
JavaScript
Next there are a few things we’ll need to add to any Javascript that we’re using.
Enable persistence
Normally, when we add data to our database, we send a request and the data is added immediately. If for some reason there is no internet connection (e.g. due to WiFi dropping) this will fail and we’ll lose the data. Thankfully Firebase has functions to prevent this, which will retain the data and try to send it when the connection returns. We need to enable this however, which can be done with the following code (taken from here):
firebase.firestore().enablePersistence()
  .catch(function(err) {
      if (err.code == 'failed-precondition') {
          // Multiple tabs open, persistence can only be enabled
          // in one tab at a a time.
      } else if (err.code == 'unimplemented') {
          // The current browser does not support all of the
          // features required to enable persistence
      }
  });
Create a user ID
As we covered earlier, each user needs a unique ID that identifies them in the database, and we create this using Firebase’s authentication service.
This creates a global variable uid that identifies the user, and can be used in database queries.
// Sign in
firebase.auth().signInAnonymously();

// User ID
var uid;

// When signed in, get the user ID
firebase.auth().onAuthStateChanged(function(user) {
  if (user) {
    uid = user.uid;
  }
});
Create a reference to the database
We need to create a variable that refers to the database to allow us to interact with it.
This is quite simple:
var db = firebase.firestore();
Creating data
In my database, I start by creating a document for this subject usind their user ID.
db.collection("tasks").doc('new_task').collection('subjects').doc(uid).set({
    subjectID: subjectID,  // this refers to the subject's ID from prolific
    date: new Date().toLocaleDateString(),
    time: new Date().toLocaleTimeString()
})
To break this down, db.collection("tasks").doc('new_task').collection('subjects').doc(uid) is a reference to the subject’s document within the subjects collection for this task. Using the .set() method here sets the data contained within the subject’s document to whatever is provided (in this case, it creates fields representing the subject ID, the date and time).
Note:
.set()sets the contents of a chosen document to the values provided, removing any information that was there before
Updating data
If we want to update an existing field in a document at any point, we can use the .update() method. For example:
db.collection("tasks").doc('new_task').collection('subjects').doc(uid).update({
    total_points: number_of_points
});
This update a field in the subject’s document containing some number of points.
Note:
.update()updates existing values in a document
The best way to add data as the subject completes your task will be dependent on the task itself, but it’s fairly easy to figure it out using a combination of .set() and .update().
Firebase hosting
Aside from the database, Firebase also provides an easy to use hosting service. There are plenty of alternatives to Firebase hosting, and you don’t have to use Firebase hosting to use its database services.
To get started with hosting, click on the the hosting section on the left menu bar, and then click Get started. This will take you through a few installation steps.

Installing hosting tools
Firebase hosting relies on some command line tools on your computer, which need to be installed through npm. Npm is a package manager that comes with Node.js (which can be downloaded here).
Once you’ve got npm installed, npm install -g firebase-tools should install all the Firebase tools. You can then click next on the Firebase hosting setup page (you can leave the box about adding the Javascript SDK unchecked).
Next, go to the directory containing your HTML/Javascript files. First, type
firebase login
This will log you into your Google account.
Then, we can initialise Firebase and deploy the web page. First, make sure you have a directory that’s organised properly. Essentially, you just need a top level directory that contains a directory called public containing your web page.
Once you have this, navigate to the top level directory and use the following command to set up the Firebase project.
firebase init
Then, when you’re ready to deploy, run
firebase deploy
And that’s it, your task will be deployed at the url given in the Hosting section of the Firebase dashboard.
Collect some data
That should be everything you need to get your task set up and running using Firebase, so you can test it out and start collecting data!
If anything here doesn’t work please let me know, it’s quite possible there are errors as this was a bit of a rushed job!